I plan to reconstruct my build in detail, but until then, some detail can be found on the Expedition Portal Thread
http://www.expeditionportal.com/forum/threads/68719-Shachagra-Family-of-5-traveles-Europe-and-Turkey-International-7500?highlight=shachagra
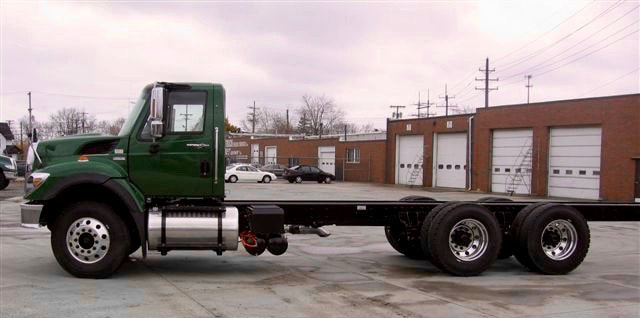
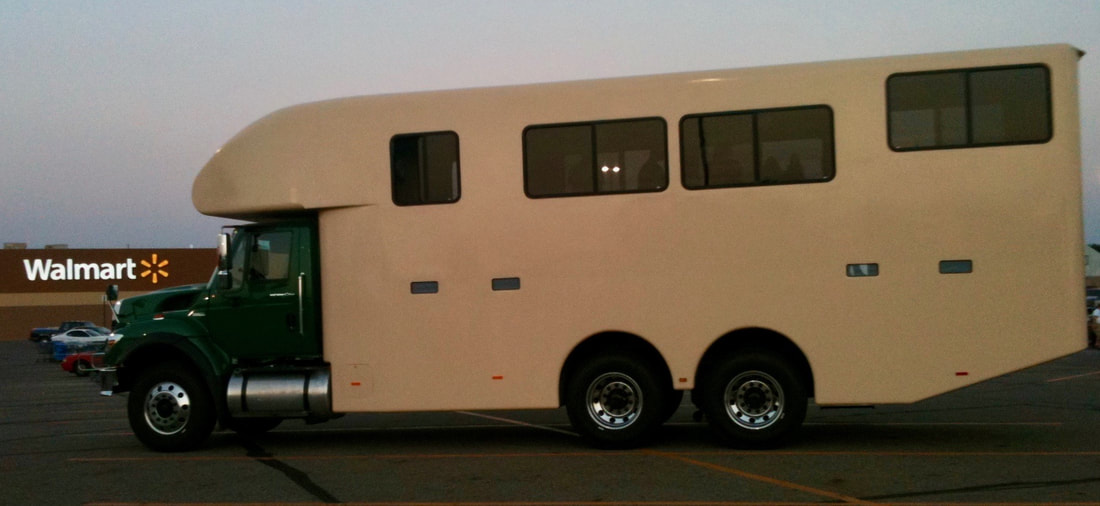
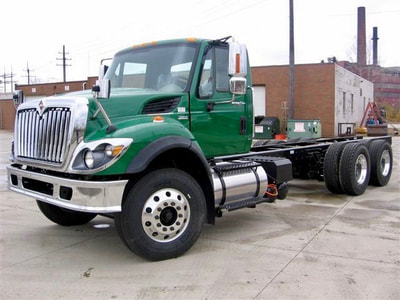
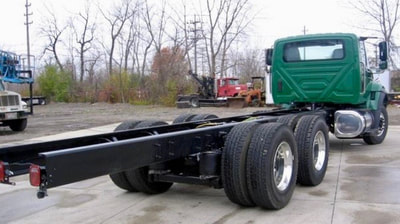
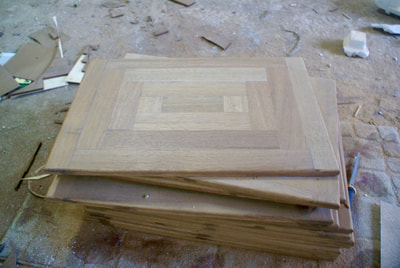
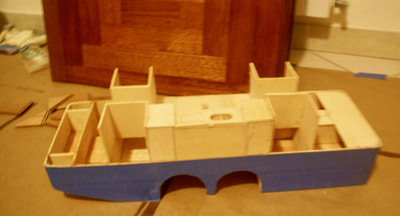
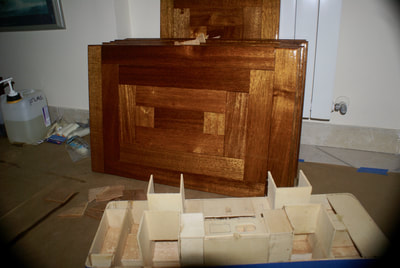
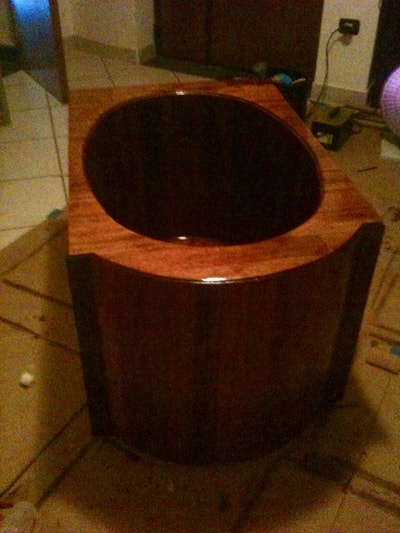
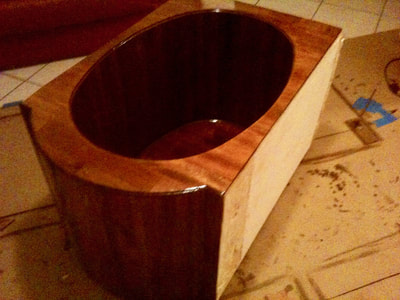
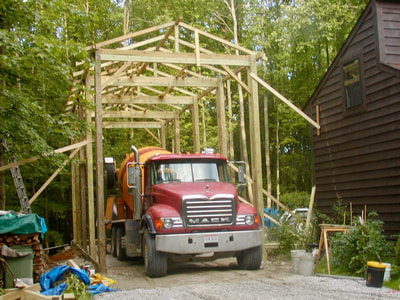
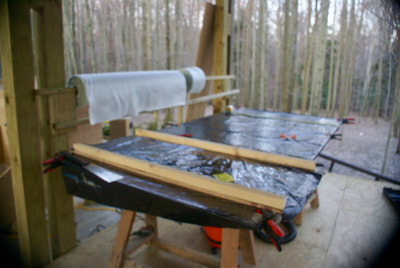
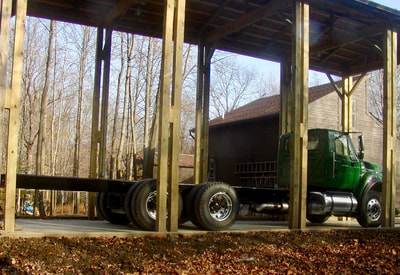
The build began mid-march and we moved in and took her on the shakedown 6 August. Under 5 month. Looking back I can't believe we did it, but it was 14 hour days, 13 days on, one day off. It takes me a week now to clean the garage. The build actually started while we were still living in Italy during my spare time. In addition to drawing plans I built a succession of models, these were what I used throughout the build, really never referring back to the paper plans. I ordered the chassis in May 2009 and hired a friend to build a workshop big enough for the project. The chassis was delivered in November and the shelter finished in December 2009. Back in Italy I began building cabinet doors and the soaking tub out of Merbau flooring I found at a local builders supply shop for a very reasonable price.
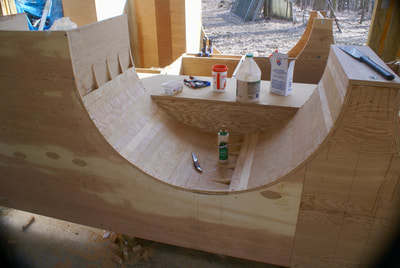
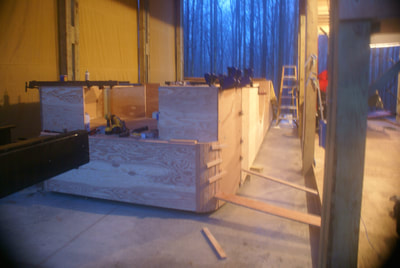
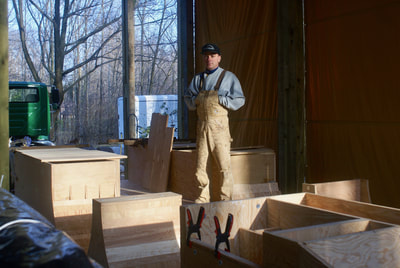
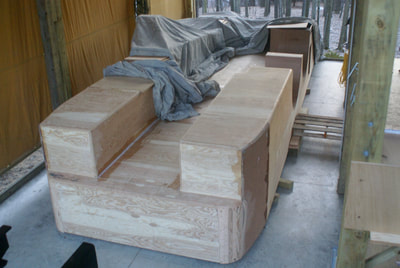
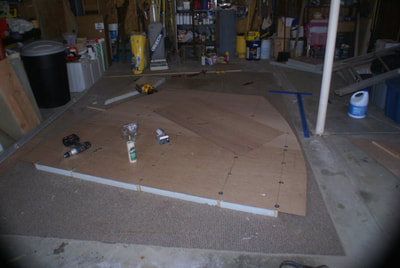
In early March 2010 I was released from my duties and placed on terminal leave prior to retirement. The children were in school so we decided that they would stay in our place in Italy and finish up the year at the DOD schools in June while I went to Painesville to start the build. After a short period setting up shop and gathering materials construction began mid-March with the construction of what I call the "hull" the lower 4 feet of the RV shell. I took time lapse photos of the build on my computer and would many time during the day order tools and materials as I realized I needed them. I opened a commercial account with Jamestown distributors, a boat-building source that saved me lots of time and money.
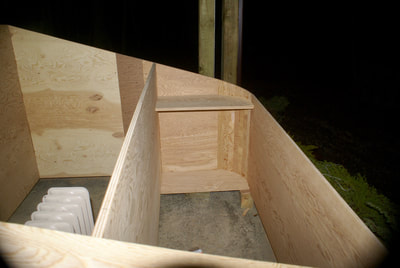
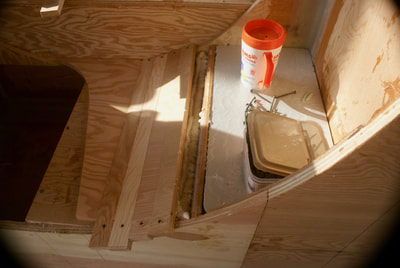
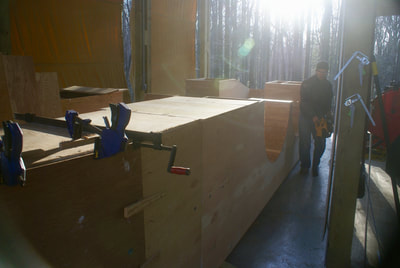
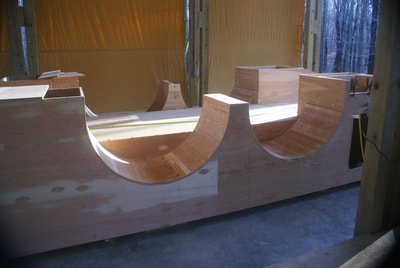
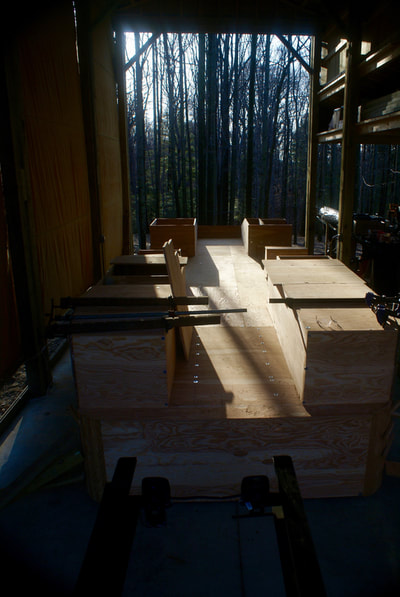
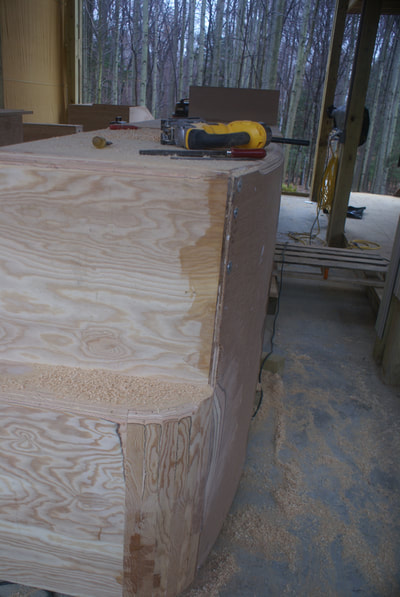
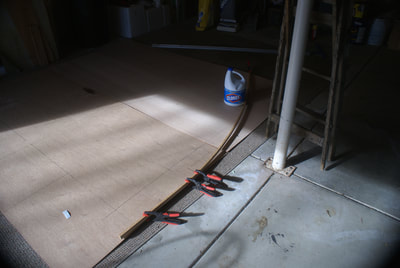
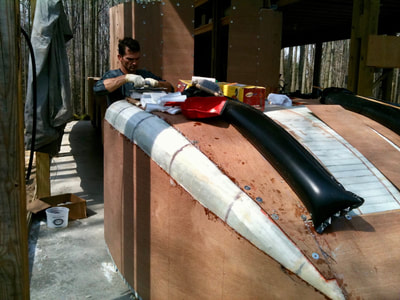
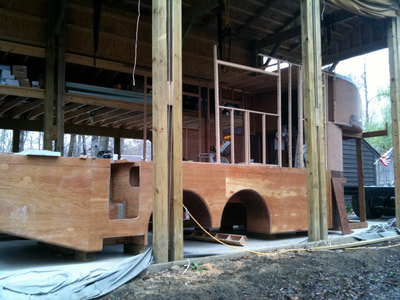
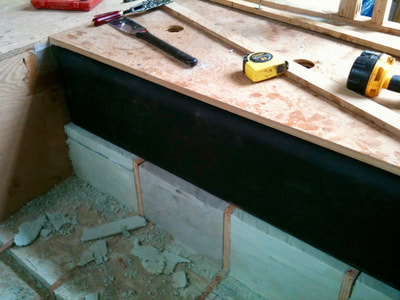
My good friend and fellow Naval Academy Naval Architect Bill Fenton joined me for 6 weeks of the build. No way I could have done it alone. The goal was to get the shell done enough before the family arrived from Italy that they could help with finish work. The hull was built inverted out of 3/4 marine plywood and once sure my positioning was correct all seams and joints were fortified with a generous fillet of epoxy putty, two layers of biaxial glass cloth, 6" and 3" covered with a layer of fiberglass cloth. The joint was stronger than the wood. We tested one perpendicular joint with a sledge hammer and the plywood failed just outside the epoxy fillet. I was constantly checking the dimensions of the hull against the truck frame to ensure it would fit. Everyone who saw it asked the same thing "Are you sure its going to fit" It was really irritating. There were no dimensioned plans, the arrangement came from the model, the dimensions from the truck.
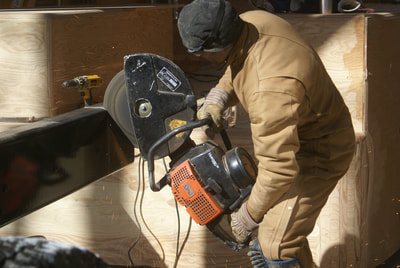
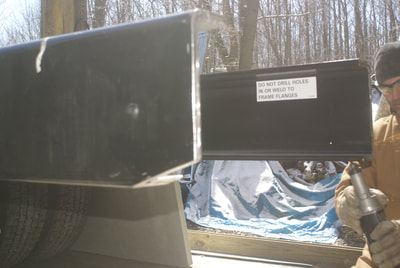
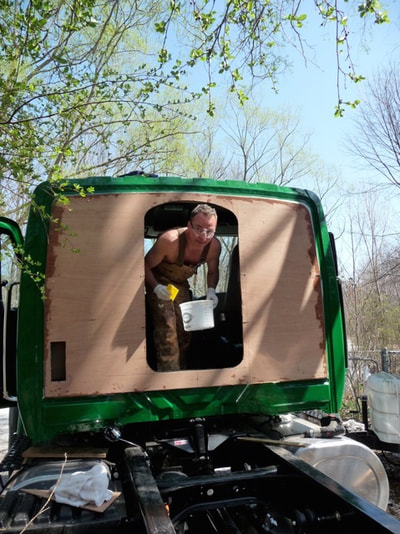
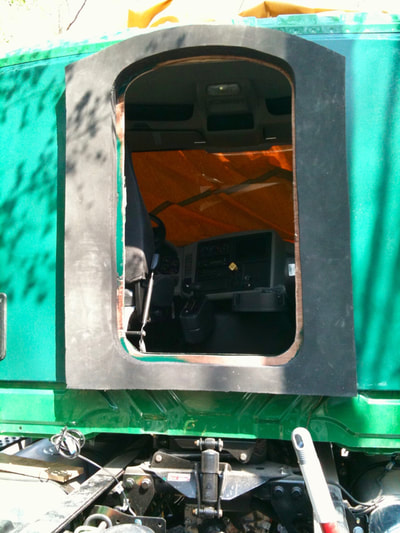
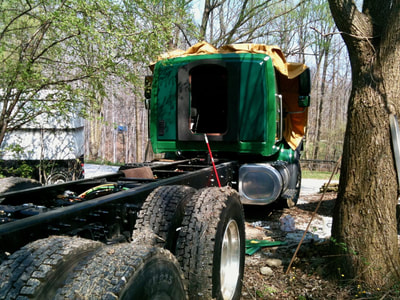
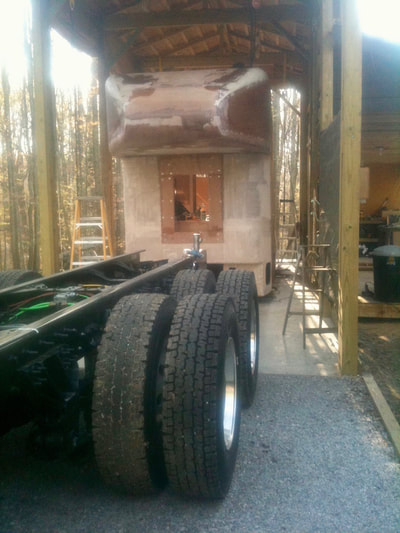
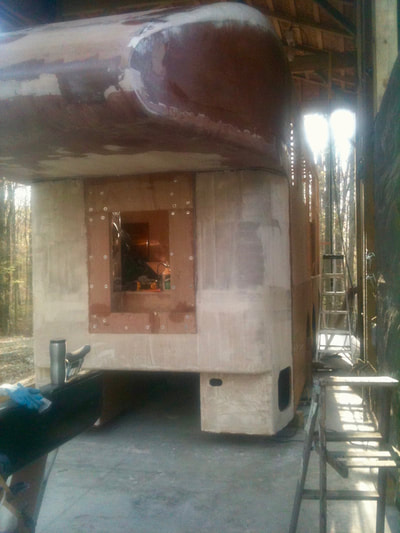
The hull was flipped over on 1 April and work began on the upper sections, those areas that would be above the floor inside the RV. But first, with the hull complete, we were confident enough to make necessary modifications to the chassis. I had ordered the frame intentionally too long planning to cut it once I had exact dimensions on a completed shell. Bill did the honors of cutting the frame and the cab. It was really difficult to cut a hole back of the cab of a 97K truck, but it had to be done. The pass through was sealed using 4 layers of 2" neoprene foam that was just squished into a good seal once the truck and shell were joined. It has worked very well but does cause a bit of a squeek on rough roads.
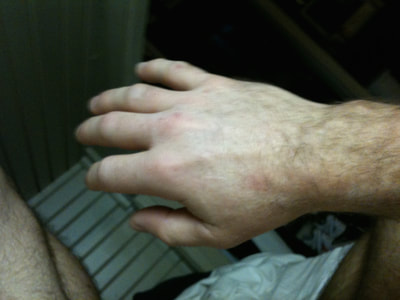
By this point Bill and I had a good routine and were making lots of progress. Morning meeting at Starbucks, followed by 12-14 hours building. My body started to break down a bit. My right hand would swell every morning, and it would be a few hours before I would get feeling in it.
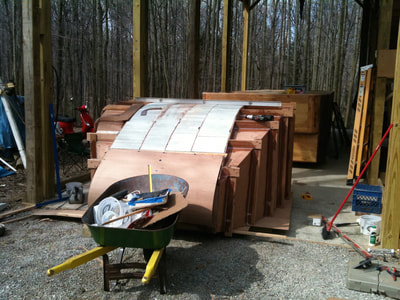
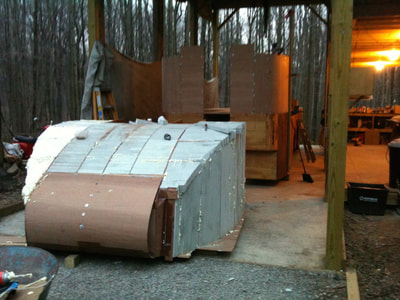
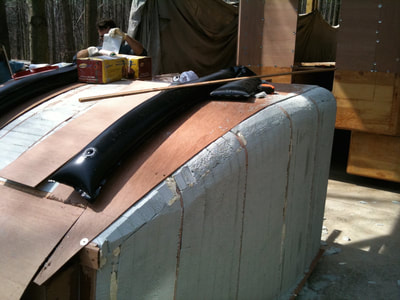
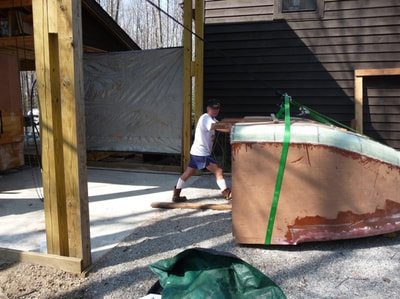
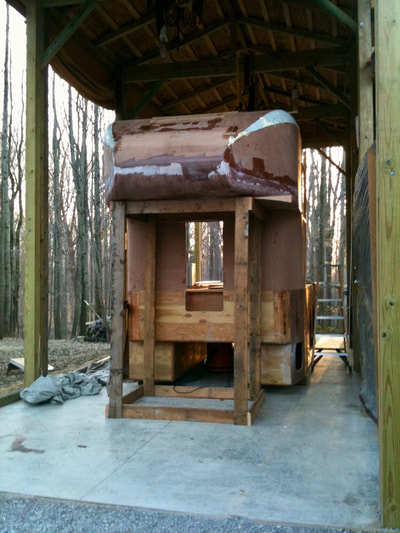
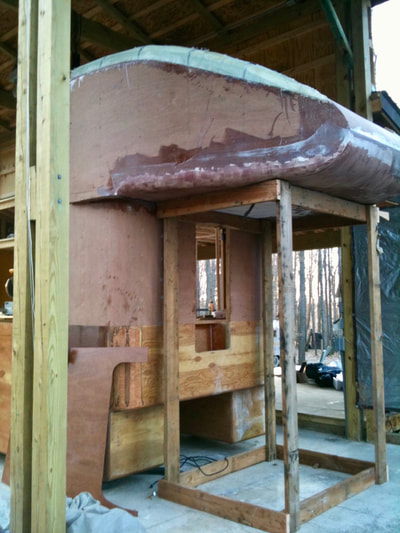
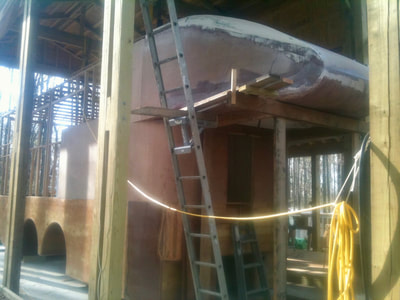
I was anxious to get the shell onto the chassis and was willing to finish the shell with it on the truck, but the overcab would have been too hard. It needed to be attached before joining. The overcab was built using a method called stitch and glue, used to build small boats. I built the inner portion of the overcab first, using zip ties to stitch together the bent plywood pieces, then reinforcing the joints with an epoxy fillet. Once the inner shell was built I added stringers and insulation before epoxying on the outer shell. The overcab was so well insulated that you could sleep there in sub zero weather and no heat and feel very warm, just from body heat. Once the overcap was complete enough to attach it to the shell we did. A support shelf was built, overcab set on it, attached and the shelf removed. Now once the paint between the shell and cab was done the shell could be placed on the truck.
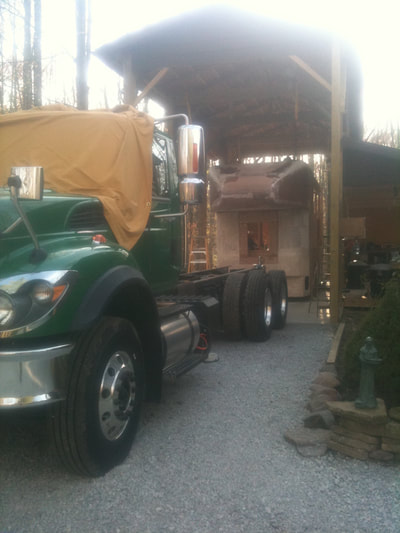
On April 15th we were ready to lift the shell onto the truck. We ran straps through temporarily cut slots in the hull that passed just under the floor, and above the truck frame. 4 chain hoists lifted the shell high enough to clear the truck beneath it. Once in place on the truck the straps were rerun to pull the shell forward, crushing the neoprene foam seal between cab and truck. I slept very well that night.
The shell rests on dense rubber pads sitting on top of the rails , fastened to the truck with u-bolts. There is no articulating mechanisms so the chassis rails are fixed to the hull box beam, allowing no deflection. Off roaders don't like this arrangement but it was simple and it worked.
The shell rests on dense rubber pads sitting on top of the rails , fastened to the truck with u-bolts. There is no articulating mechanisms so the chassis rails are fixed to the hull box beam, allowing no deflection. Off roaders don't like this arrangement but it was simple and it worked.
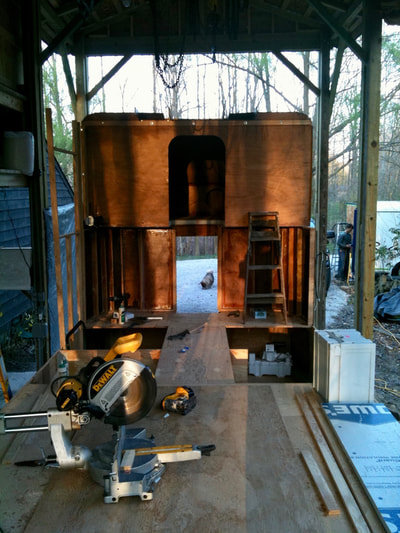
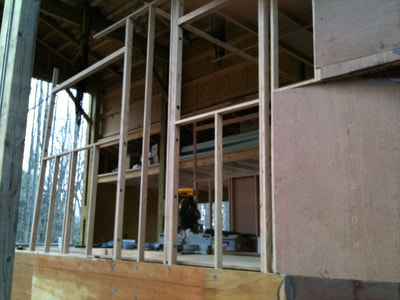
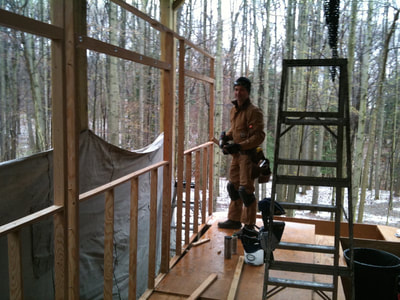
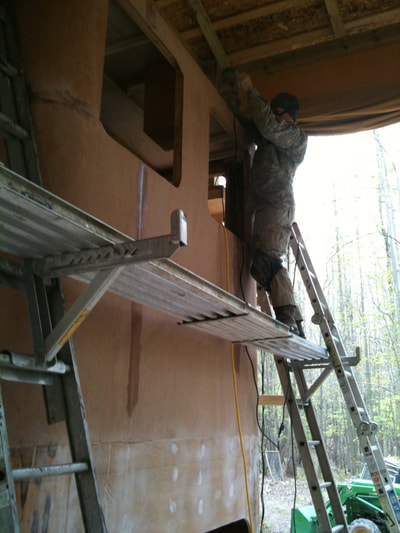
With the shell on the truck construction looked a bit more like the building of a house, using stick construction. The structure was different above. Instead of a hefty 3/4 box beam it was built much like a house with 3/4 plywood strips 2" wide acting as 2x4s, sheathed in 1/2" marine plywood. The entire structure is encased in epoxy, inside and out, and the outside glassed. At this point Bill took over closing in the shell and I set to building water tanks.
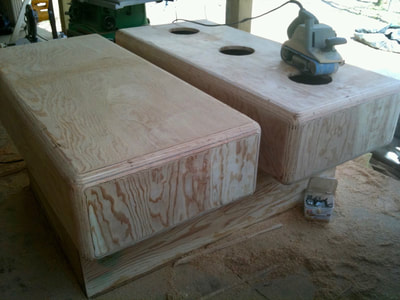
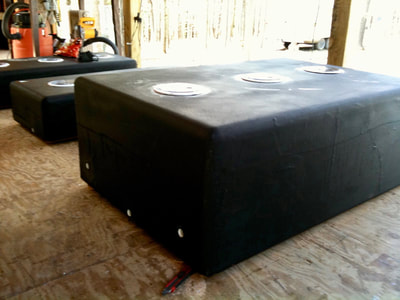
I decided to build my own water tanks. I fiddled with numerous configurations for tanks I could purchase and finally decided that I could get much more tankage if they were custom, and who better to build custom tanks than me. I still made them removable, that is they are tanks built complete and then placed to the RV. I wanted to build tanks integral to the structure, but I also wanted to highly insulate the tanks from the exterior of the shell as they served as a mass storage device for the heating system. The hardest part was applying 6 coats of epoxy to the inside of the tanks through the access ports. I also built similar tanks for the holding tank and for the house diesel tank, from which the diesel boiler, stovetop and fireplace would be fed. I did much reading on this last use and found it has been done in custom boats for years. We have had no problems with any of the tanks.
